How to create a perfect 3D scan
TLDR
A perfect object's surface for photogrammetry looks something like this:
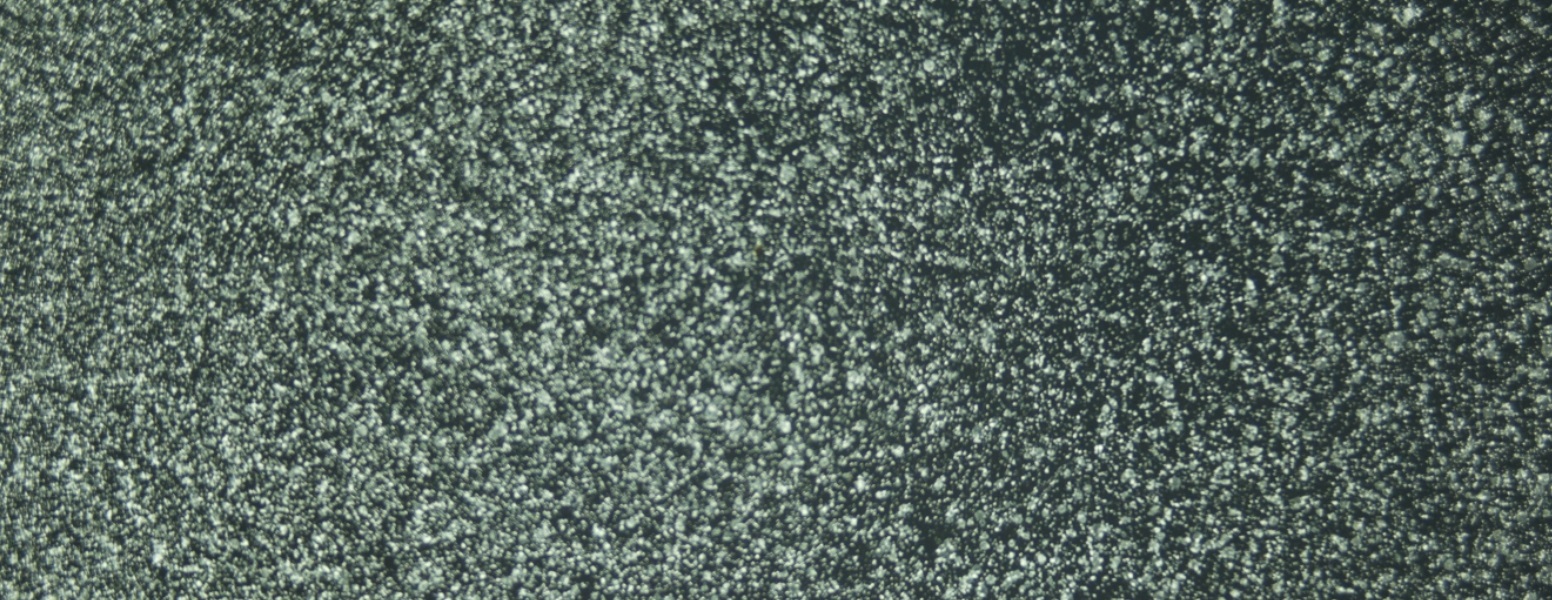
- thousands of distinct/random features
- no specular highlights
- no blurry areas
- high contrast
Guide
It is all about the object's surface and some basic camera and lighting settings. But fortunately, there are some neat little tricks to scan almost any kind of object. The following flow chart gives an overview and should be printed and placed next to your scanner.
Every new object poses a challenge, so take your time answering each individual question and adjust your workflow accordingly
Below you can find many examples and explanations.
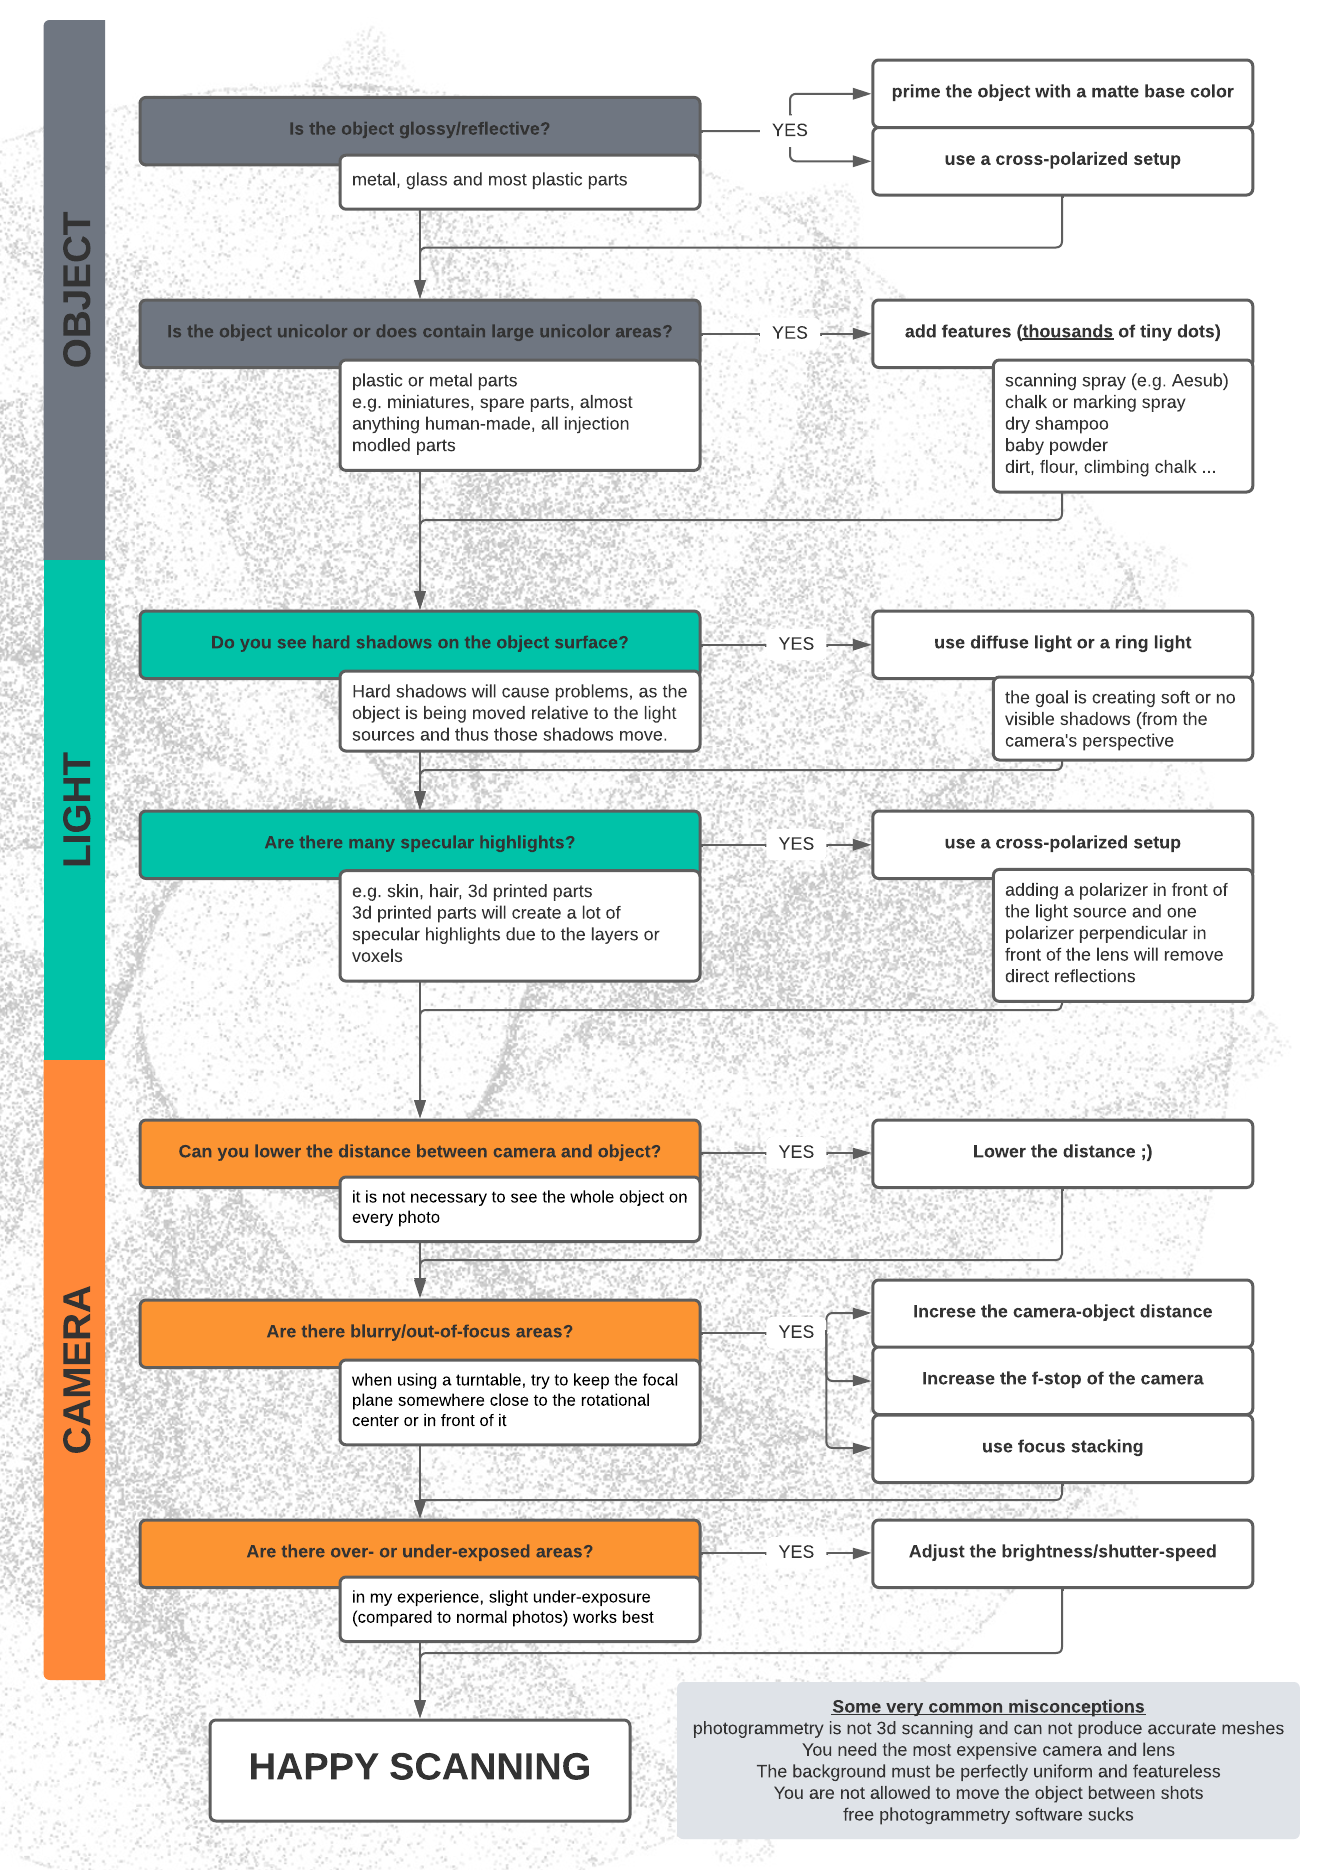
Table of Contents
- OBJECT
- Plastic Miniature
- Plastic replacment part
- Plastic 3D printed miniature
- Metal Key
- Cast Metal Tank Chain
- Stone spinning whorl (archeology)
- Flintstone tool/weapon
- LIGHT
- Cross polarization
- CAMERA
OBJECT
I am using either the OpenScan Classic or Mini with the ring light turned on to create the following examples:
Plastic miniature
 |
 |
 |
|---|---|---|
| bad | bad | very good |
| without polarizer | with polarizer | with polarizer and scanning spray |
| The object has large unicolor areas and a lot of specular highlights | The specular highlights can be removed with cross-polarisation (which is not absolutely necessary, but helps in the next step) | Add thousands of tiny dots by applying a fine layer of scanning/chalk spray, the dots could be finer and denser. |
Plastic replacement part
 |
 |
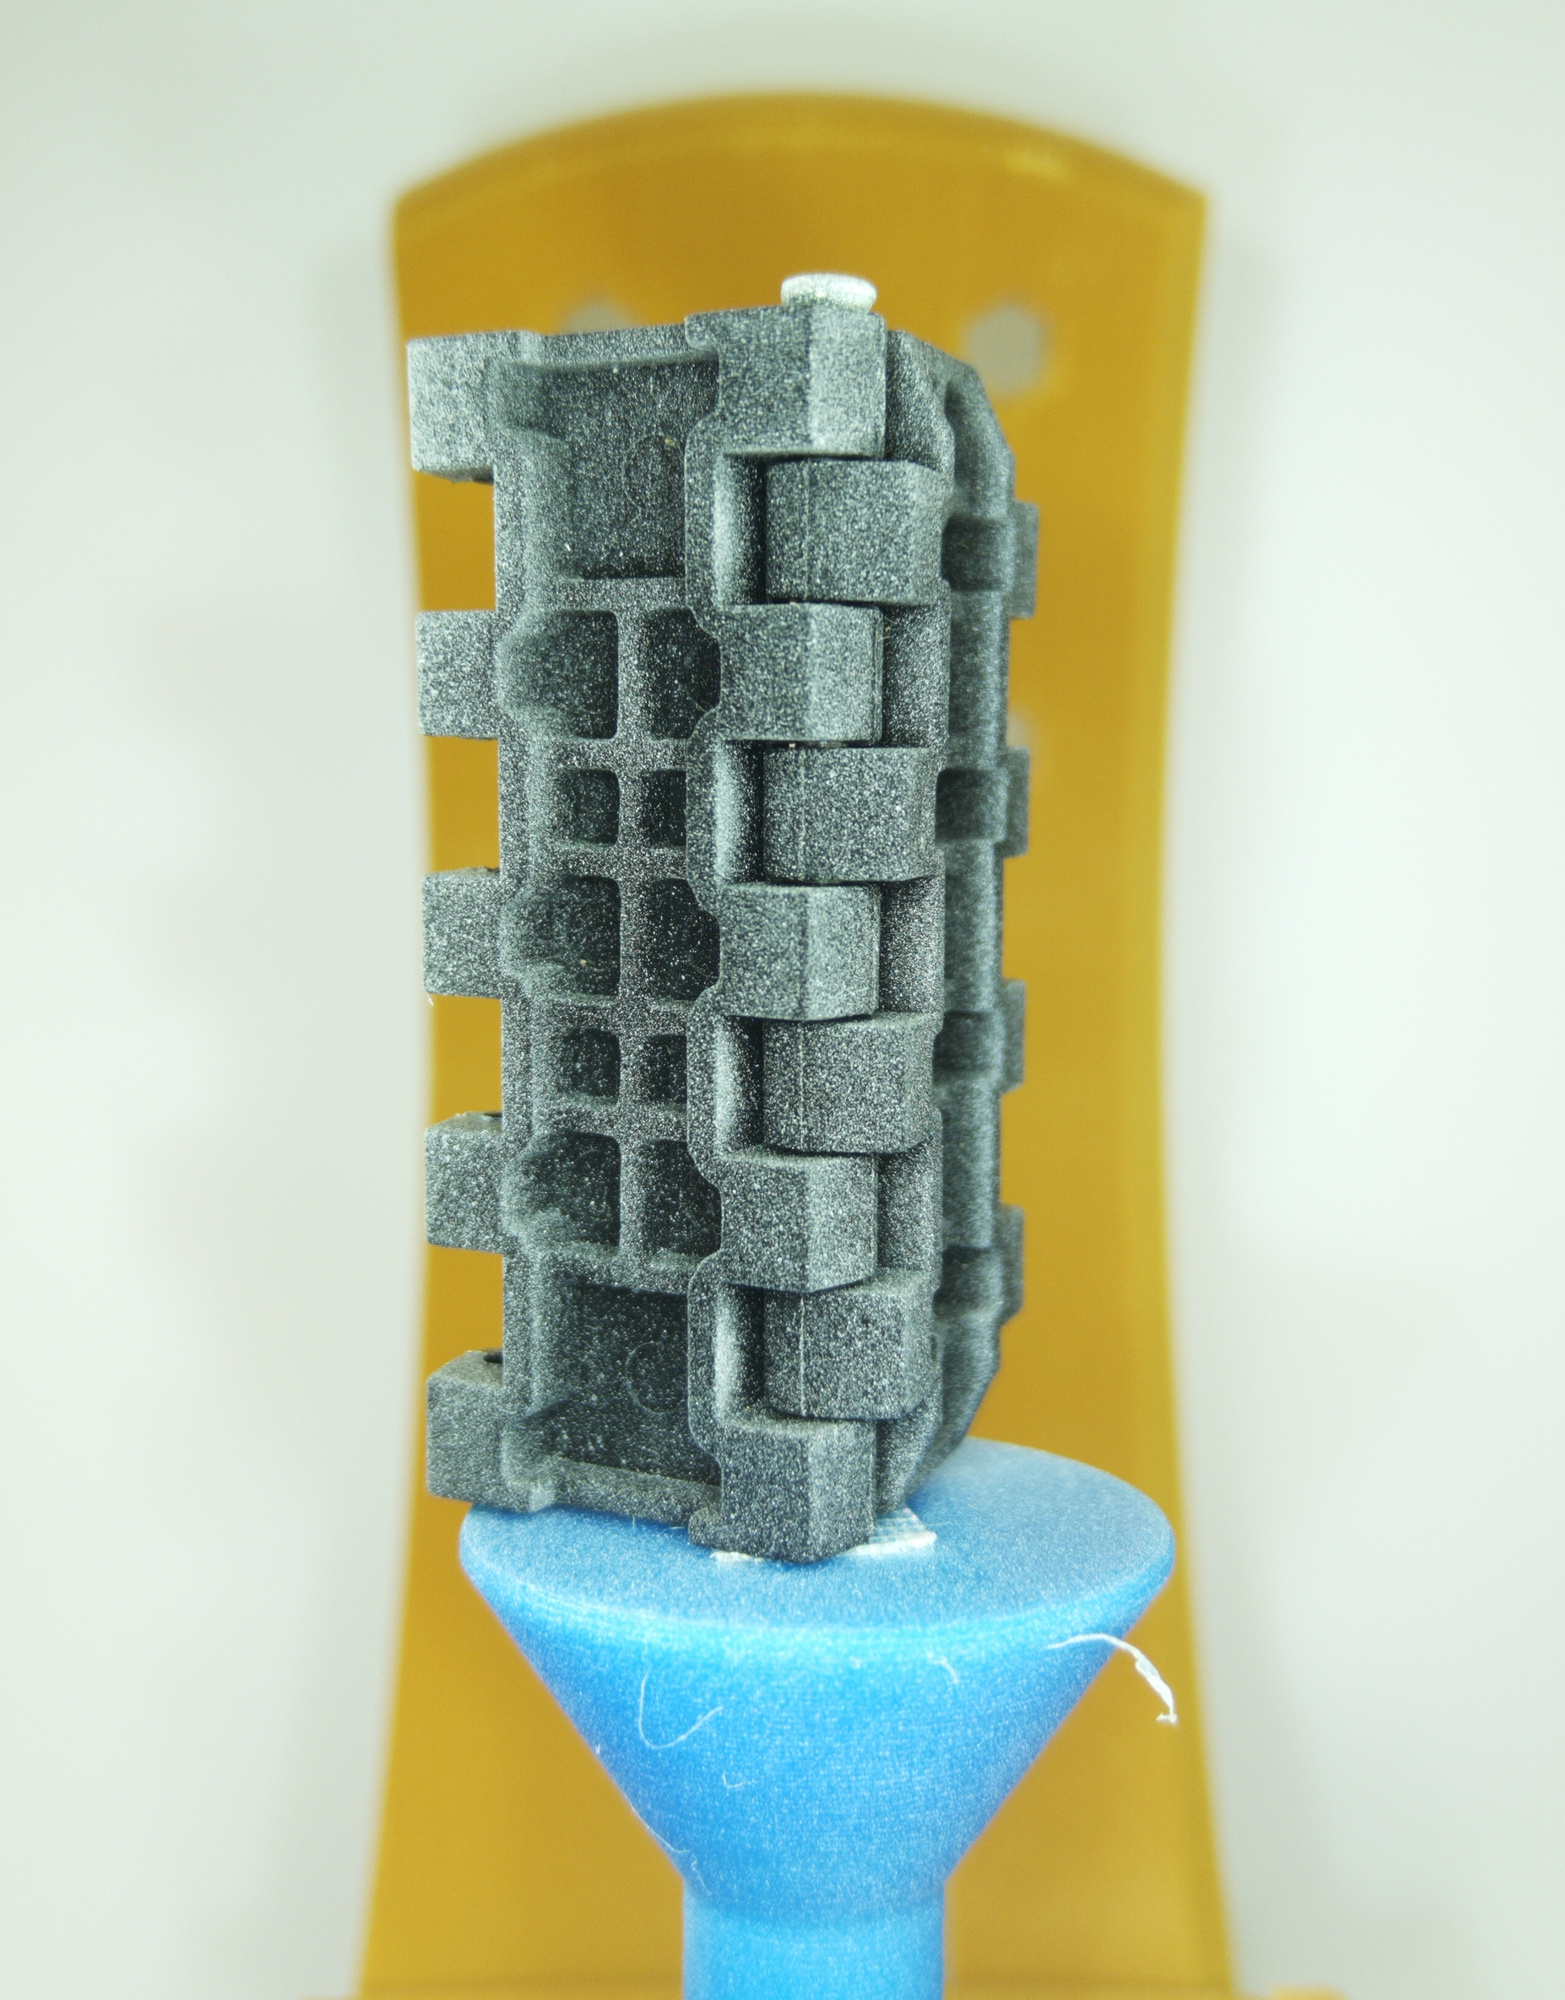 |
|---|---|---|
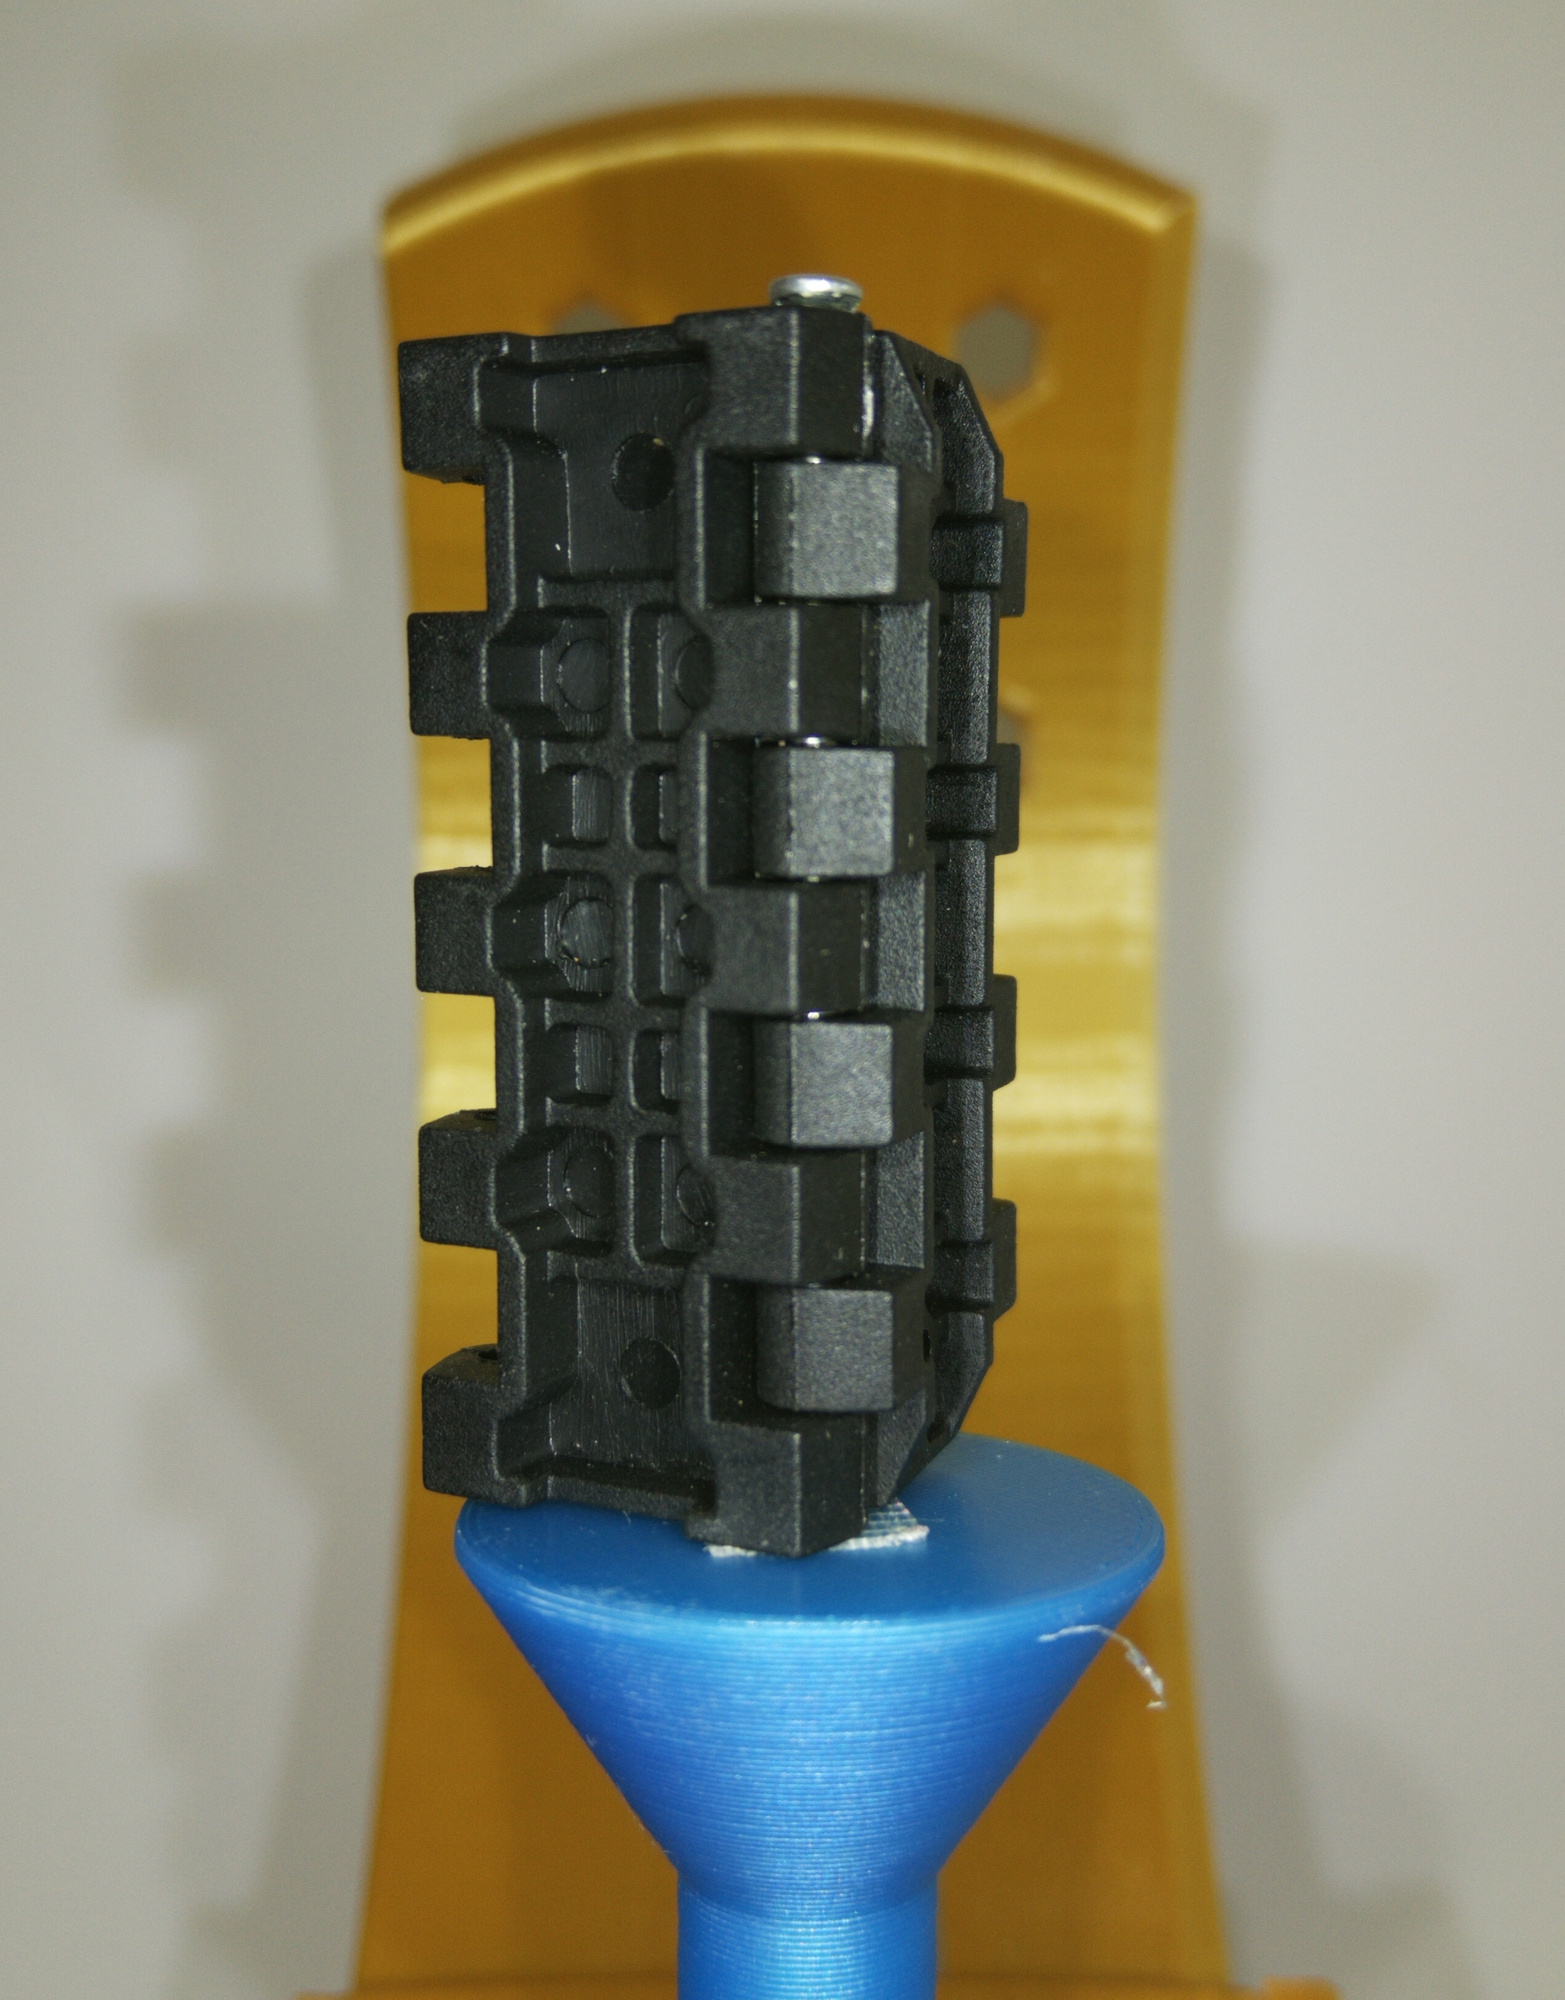
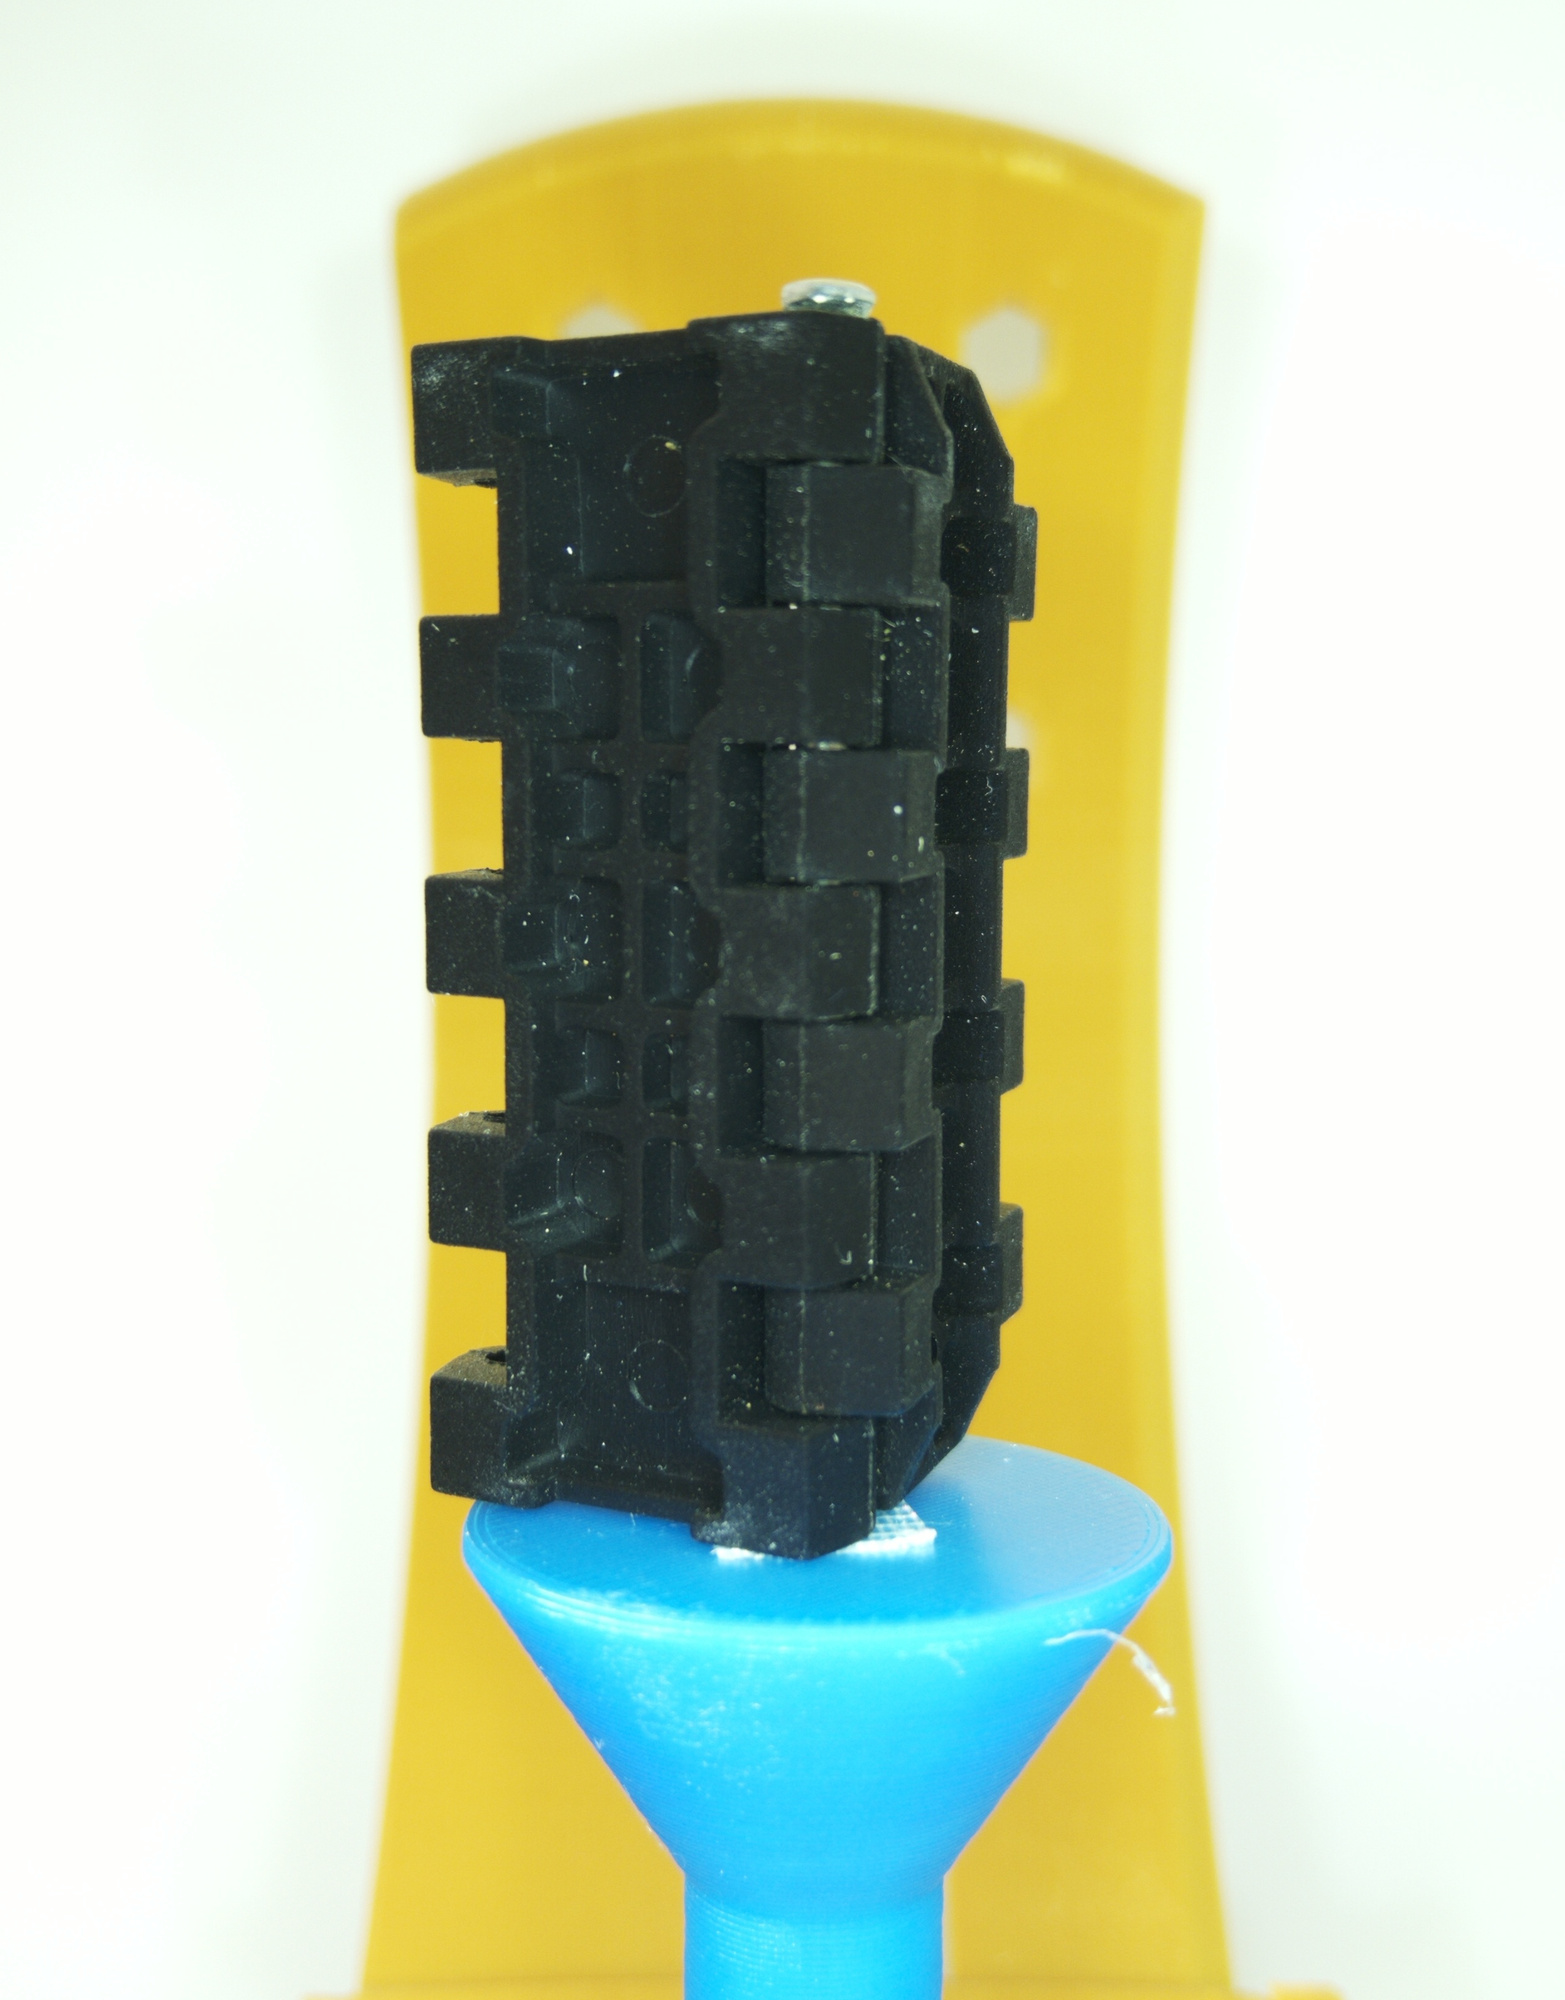
| bad | okay-ish | perfect |
| without polarizer | with polarizer | with polarizer and scanning spray |
| The object seems to have a lot of surface features, where in fact it is almost totally unicolor. What you see here are thousands of specular highlights | The specular highlights can be removed with cross-polarisation. Now, you are able to see, that the object is almost completely featureless (except for some small pieces of dirt, which might already be enough.) | Add thousands of tiny dots by applying a fine layer of scanning/chalk spray. This is an example of a perfectly random, feature-rich surface |
Plastic 3D Printed miniature
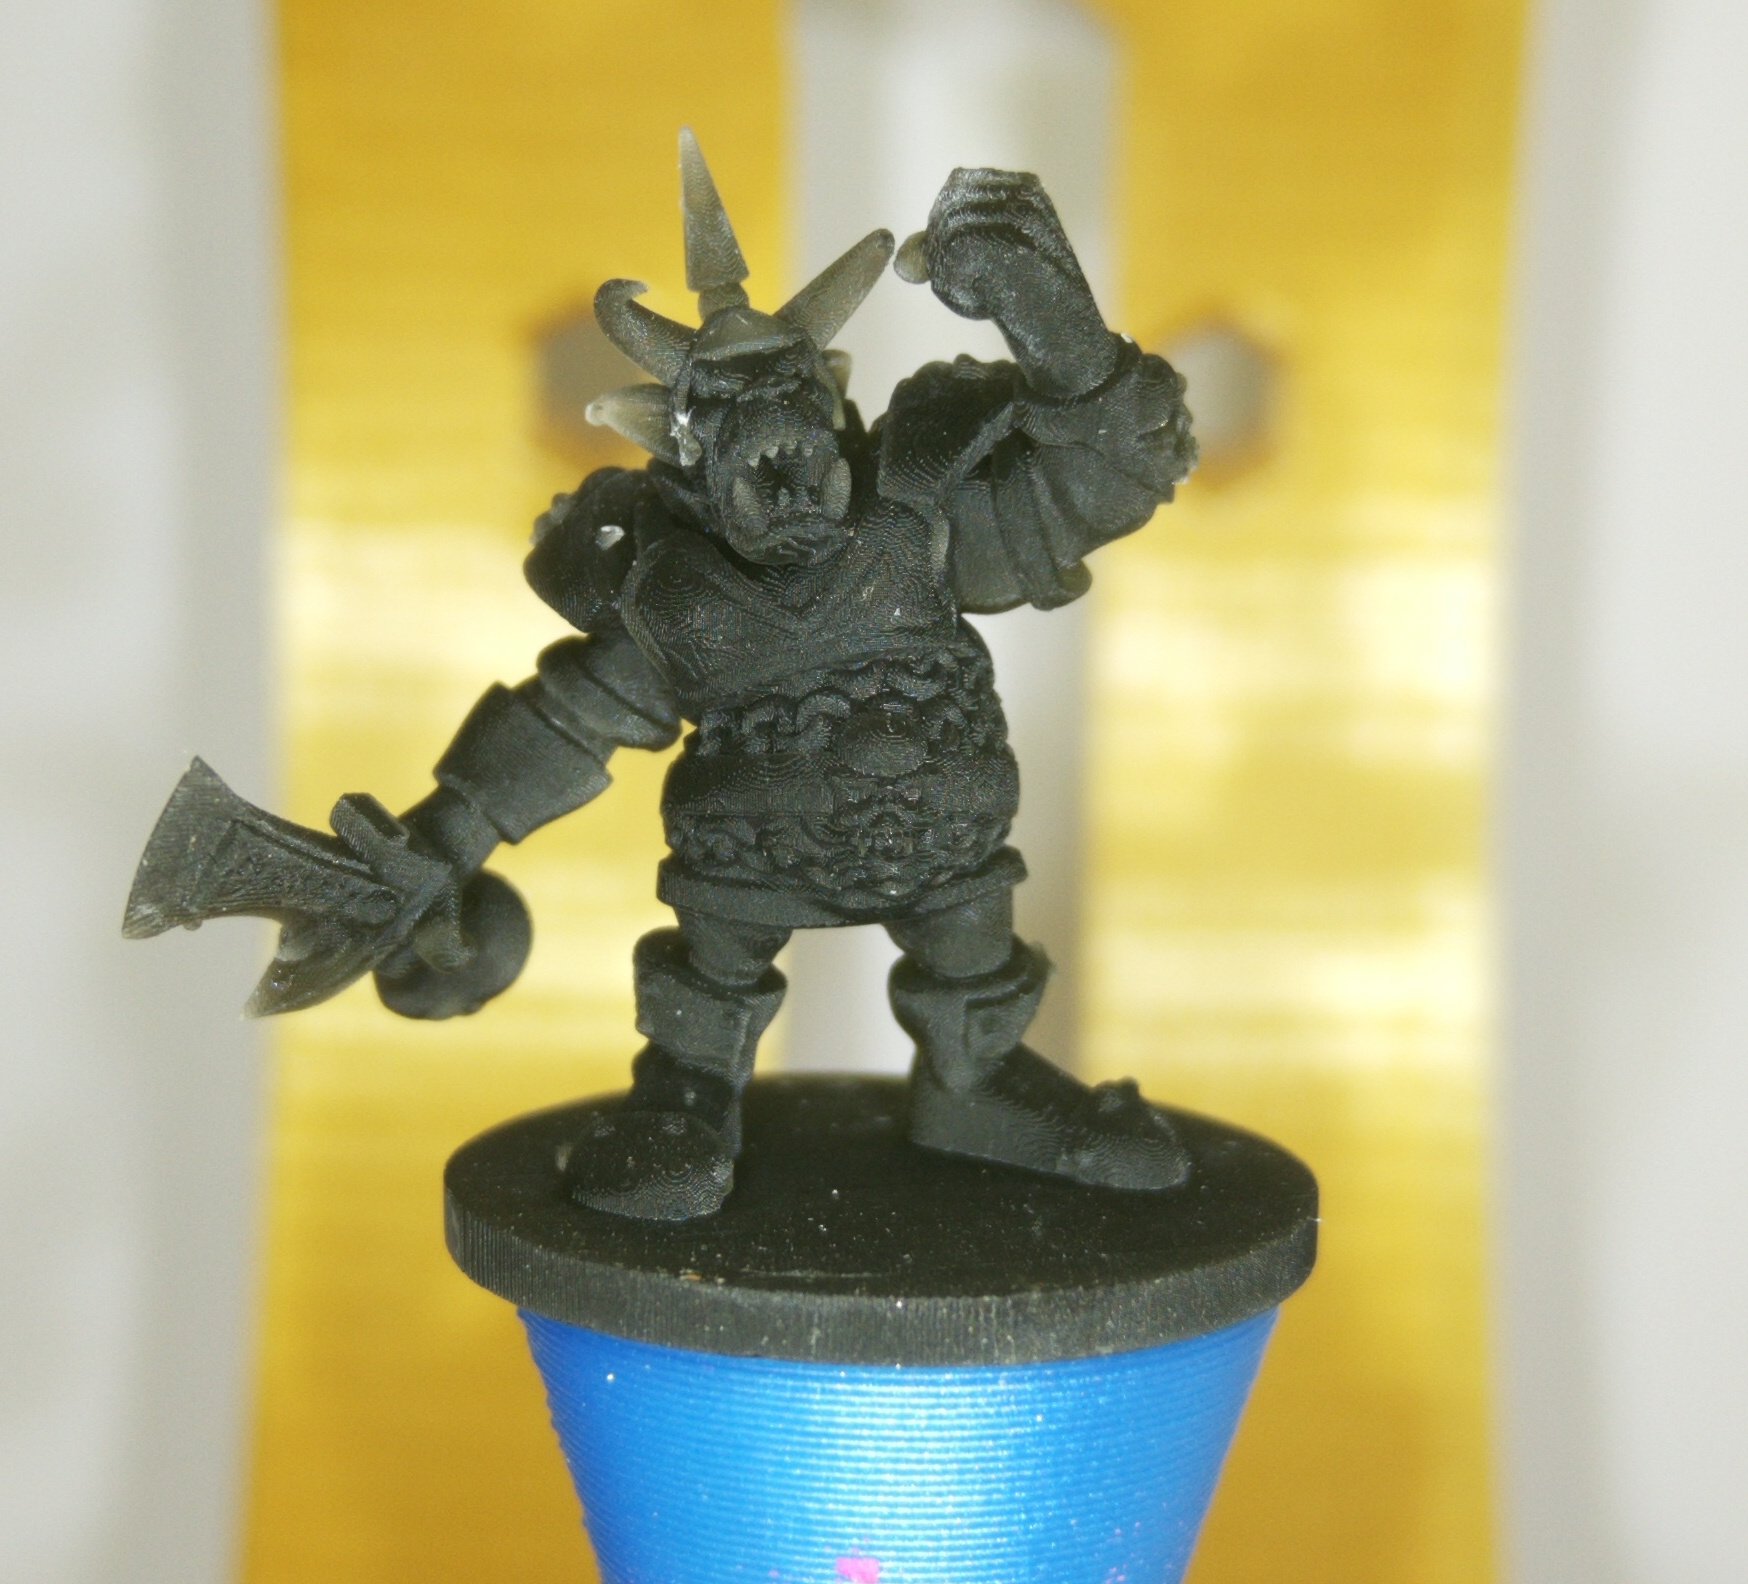 |
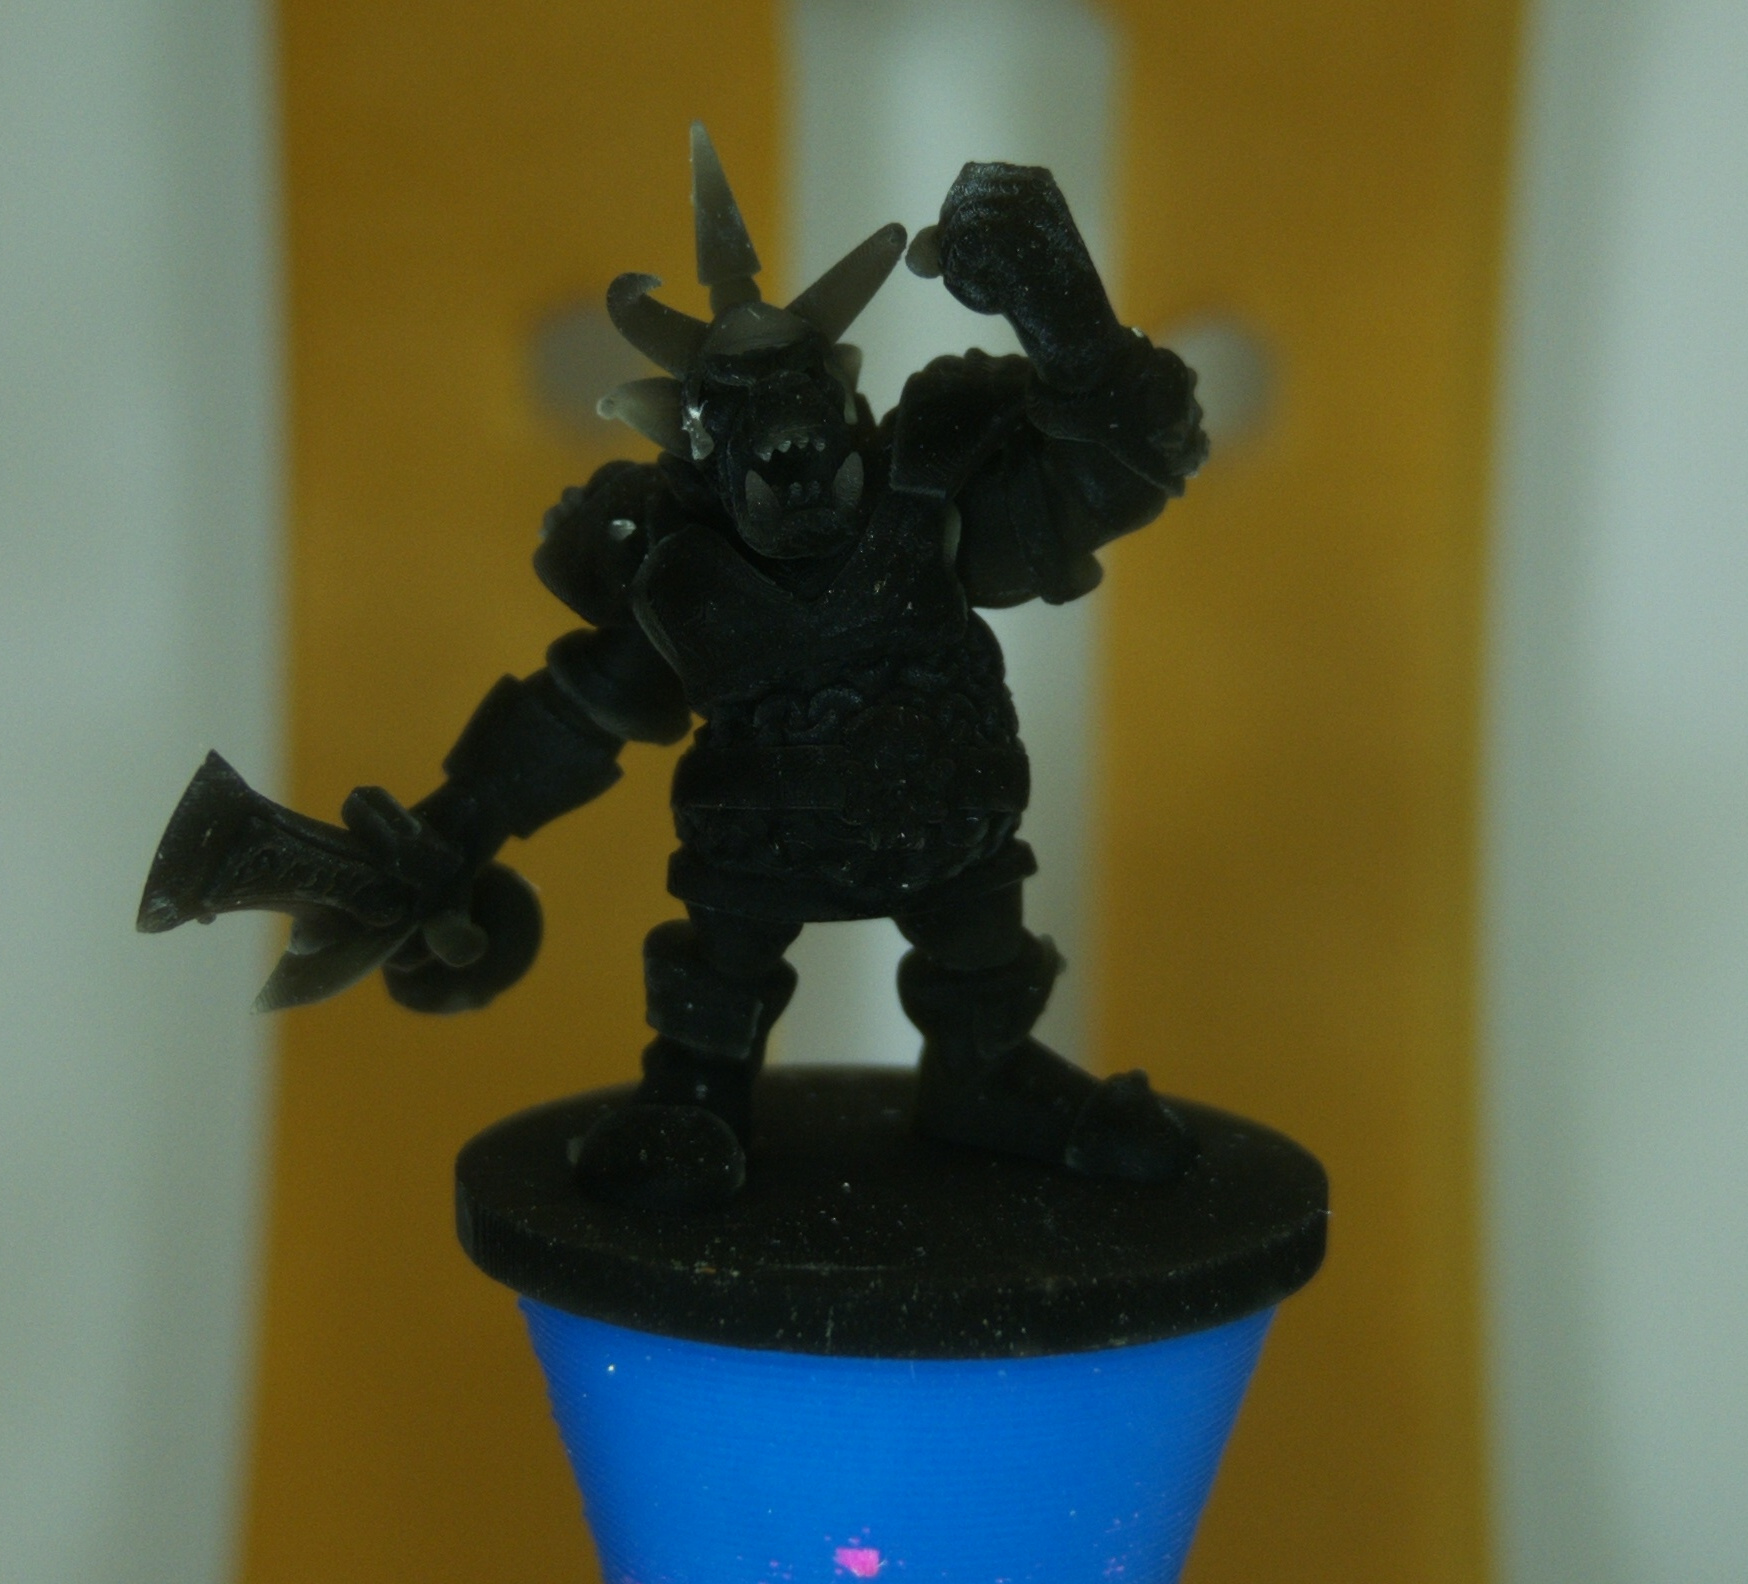 |
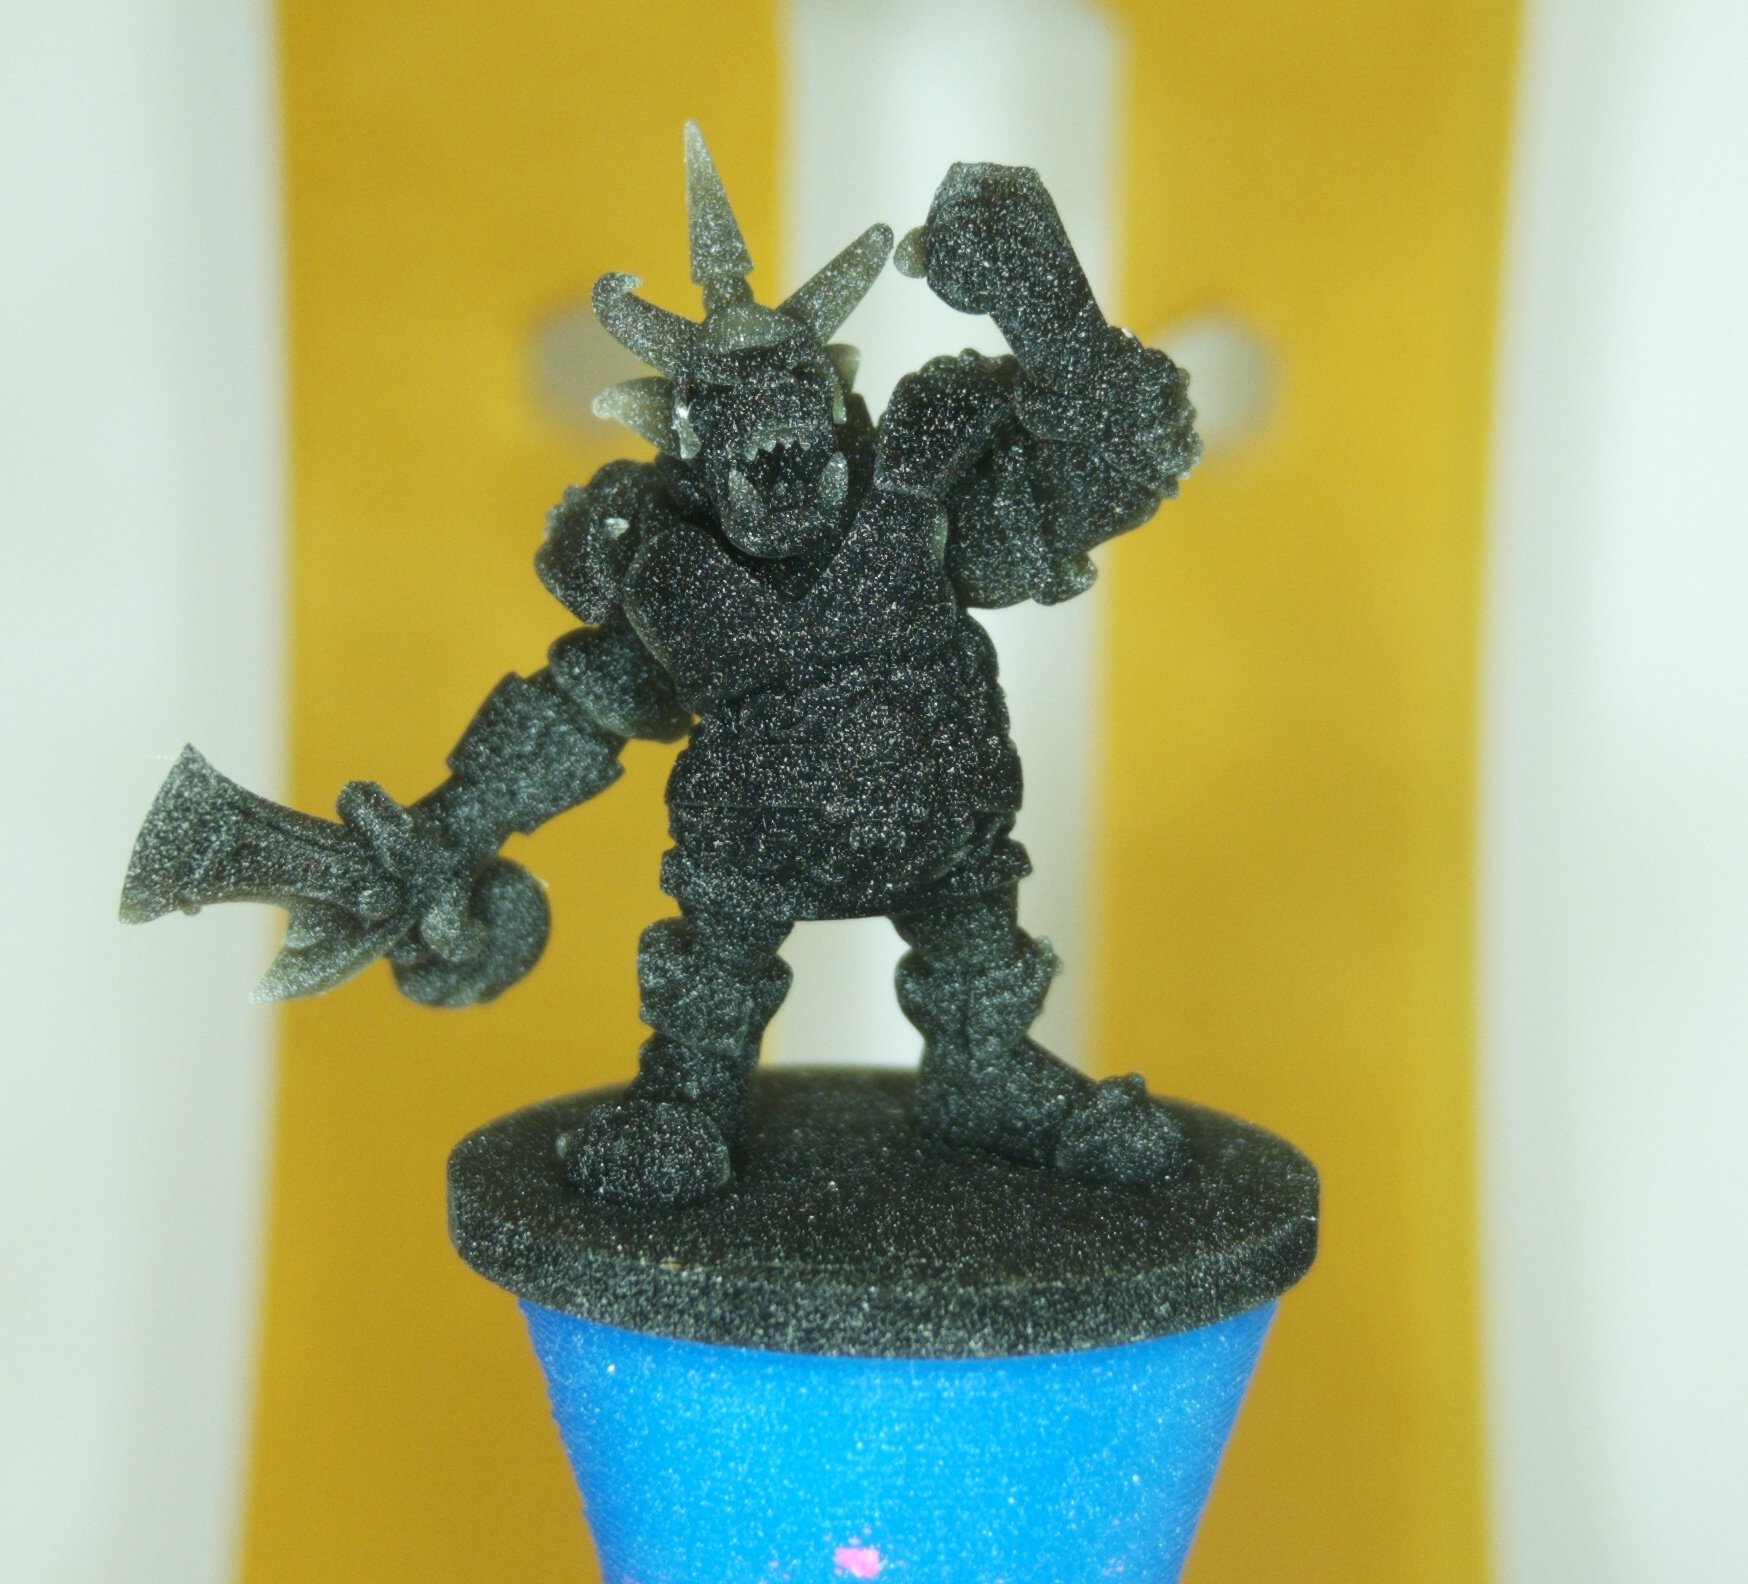 |
|---|---|---|
| bad | bad | perfect |
| without polarizer | with polarizer | with polarizer and scanning spray |
| Again, the surface seems feature-rich, but all you see are specular highlights created by the surface of the 3d print | As soon as you add cross-polarization, all those highlights disappear and not many features are left | Create a perfect, feature-rich surface with the help of some scanning spray |
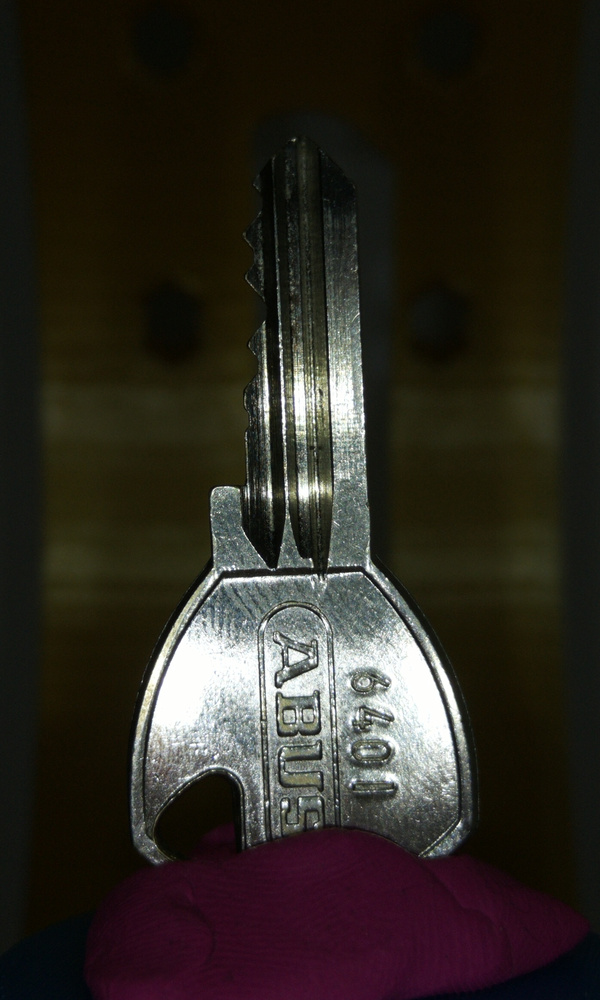
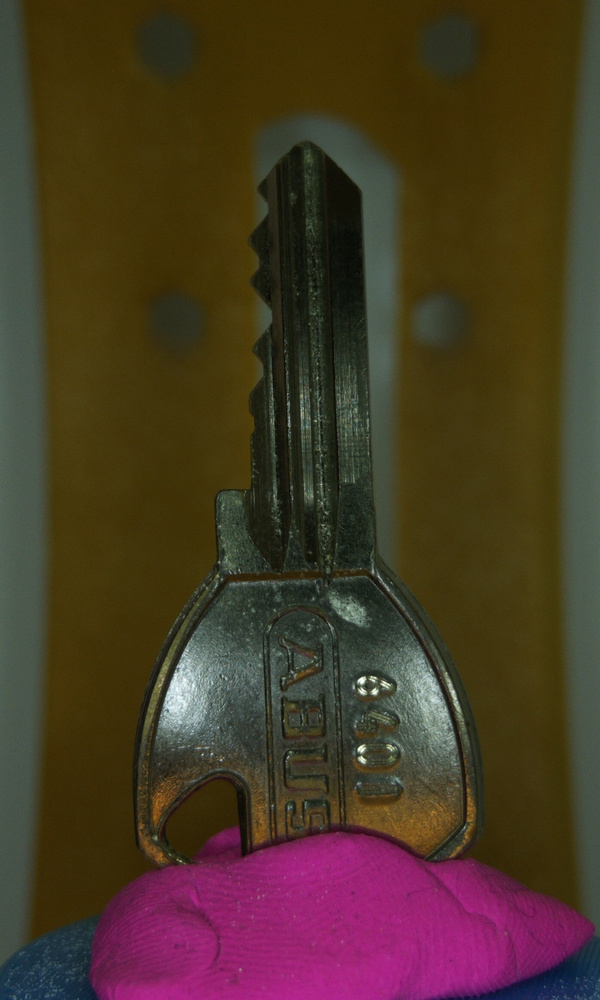
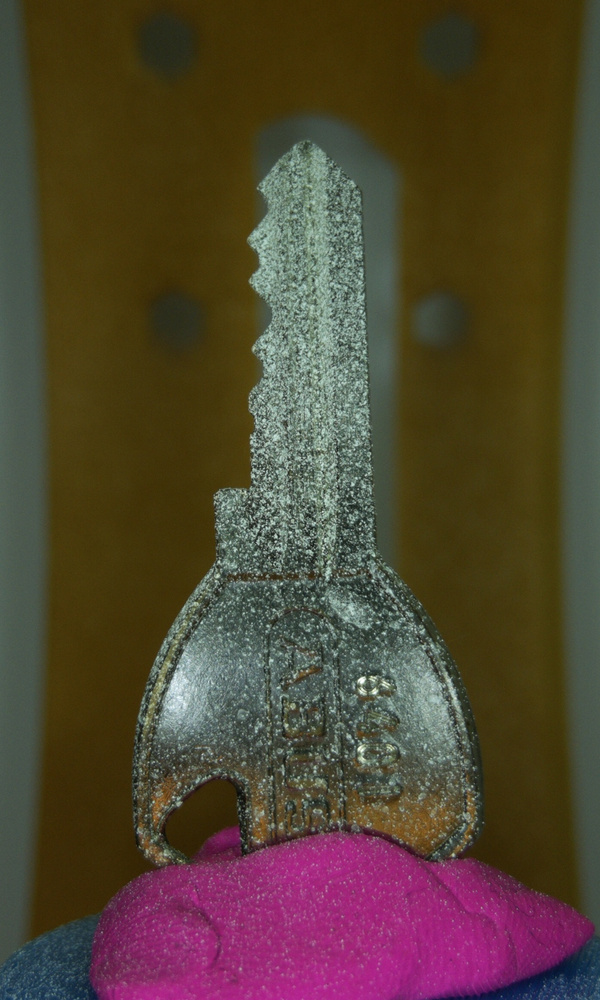
metal key
 |
 |
 |
|---|---|---|
| bad | bad | good |
| without polarizer | with polarizer | with polarizer and scanning spray |
| lots of specular highlights and almost no distinct surface features | due to the high reflectivity of the surface, there are still specular highlights visible when using cross-polarisation (this could be avoided in a completely dark environment + polarized light source) | adding dots helps a lot to create enough features, but the remaining specular highlights might create some noise in the resulting 3d mesh. To improve the result, you would have to matte the surface before applying the scanning spray |
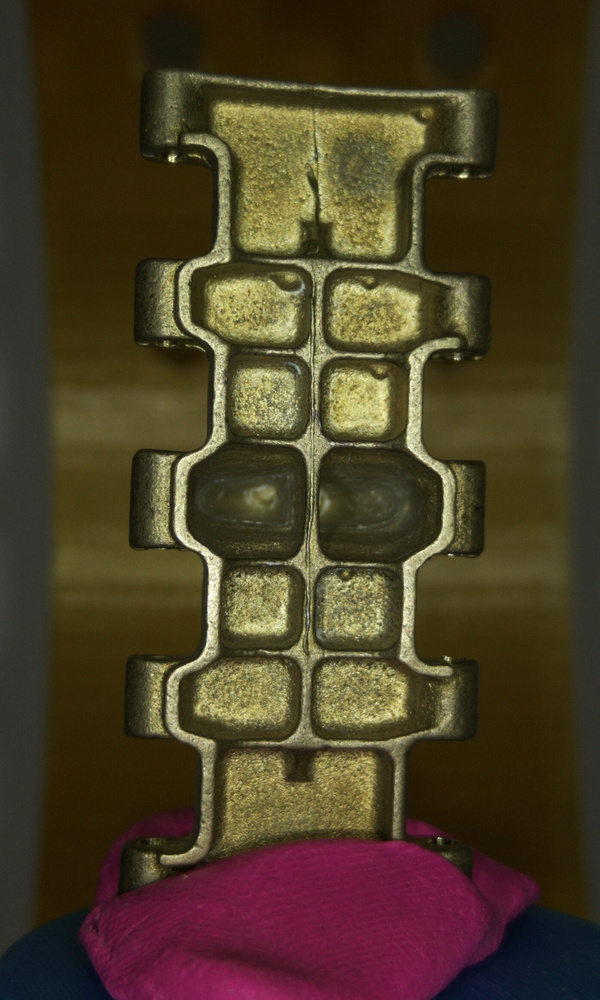
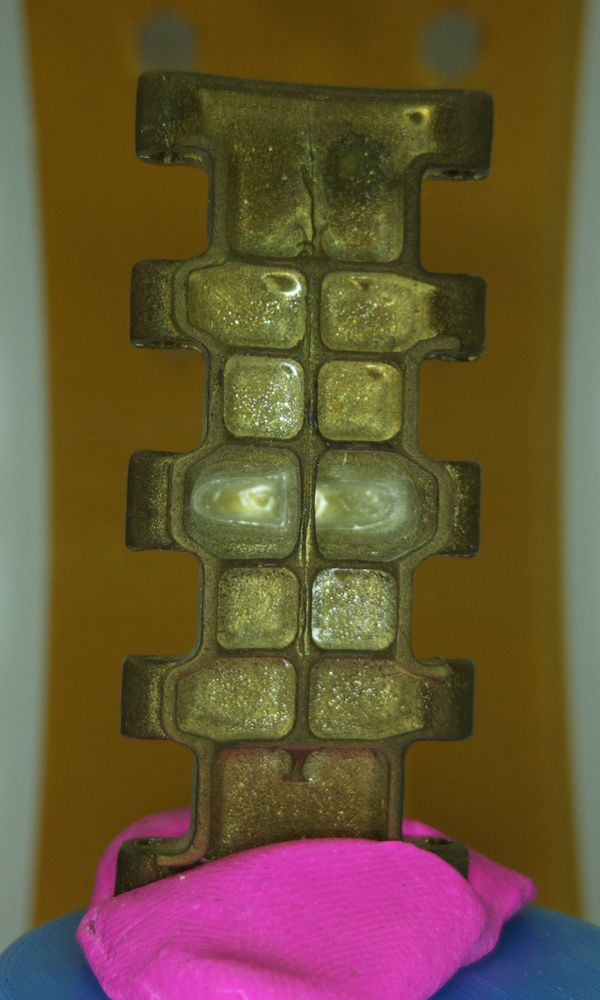
Cast metal tank chain
 |
 |
|---|---|
| bad | very good |
| without polarizer | with polarizer |
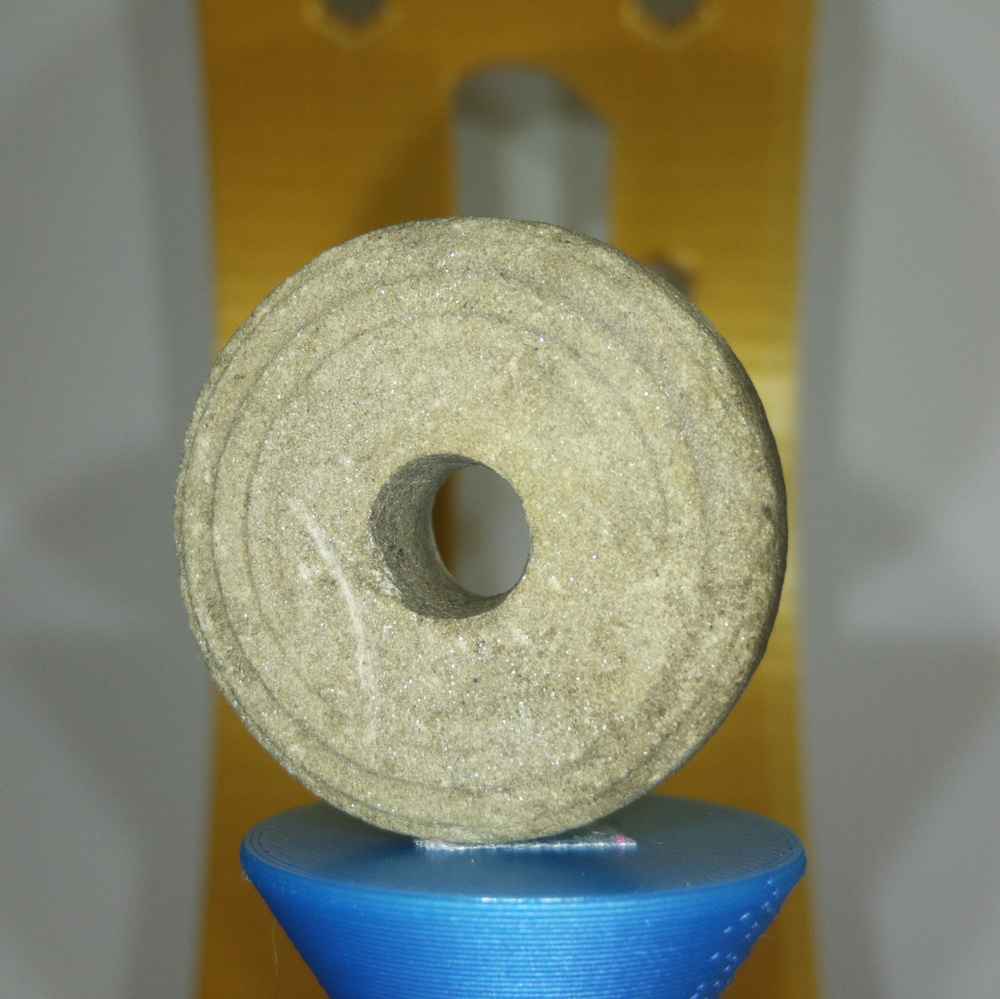
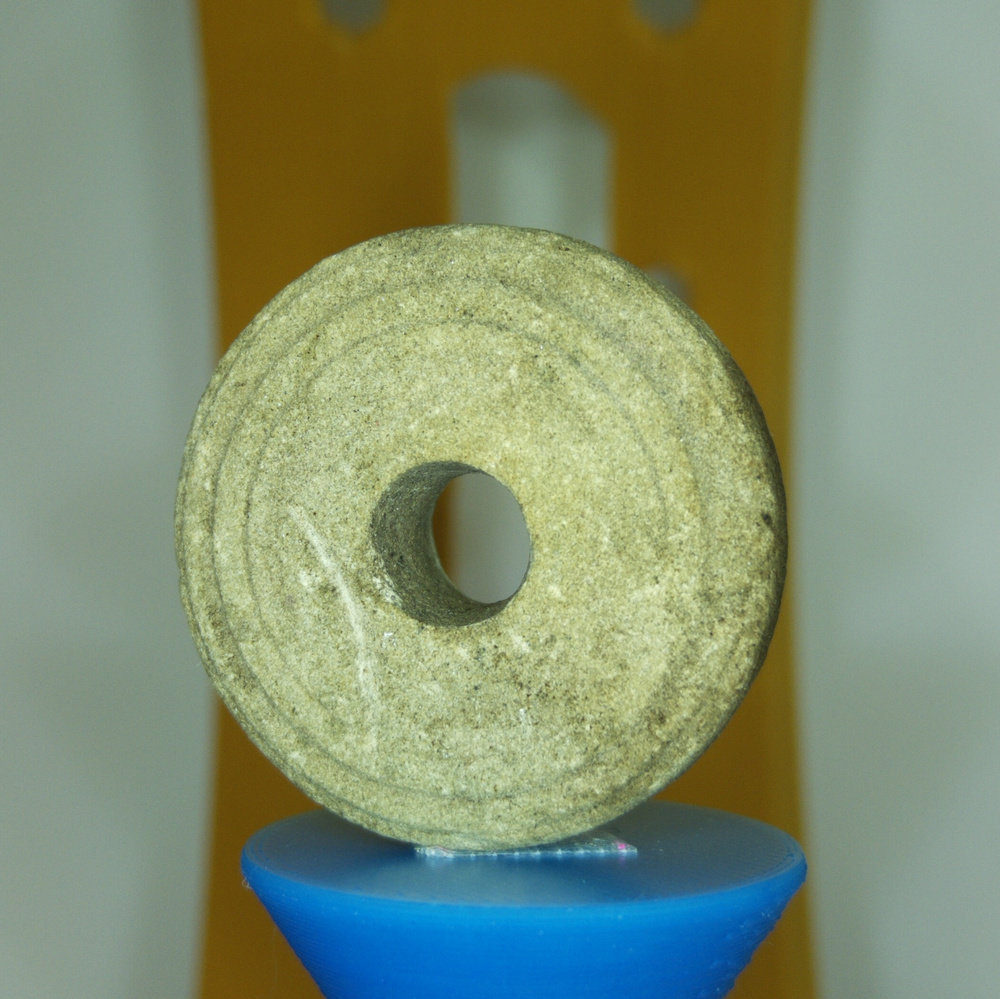
Stone spinning whorl
This is basically as good as it could be, lots of features and almost no specular highlights. Note, that not all types of stone show that amount of surface features/graininess.
 |
 |
|---|---|
| perfect | perfect |
| without polarizer | with polarizer |
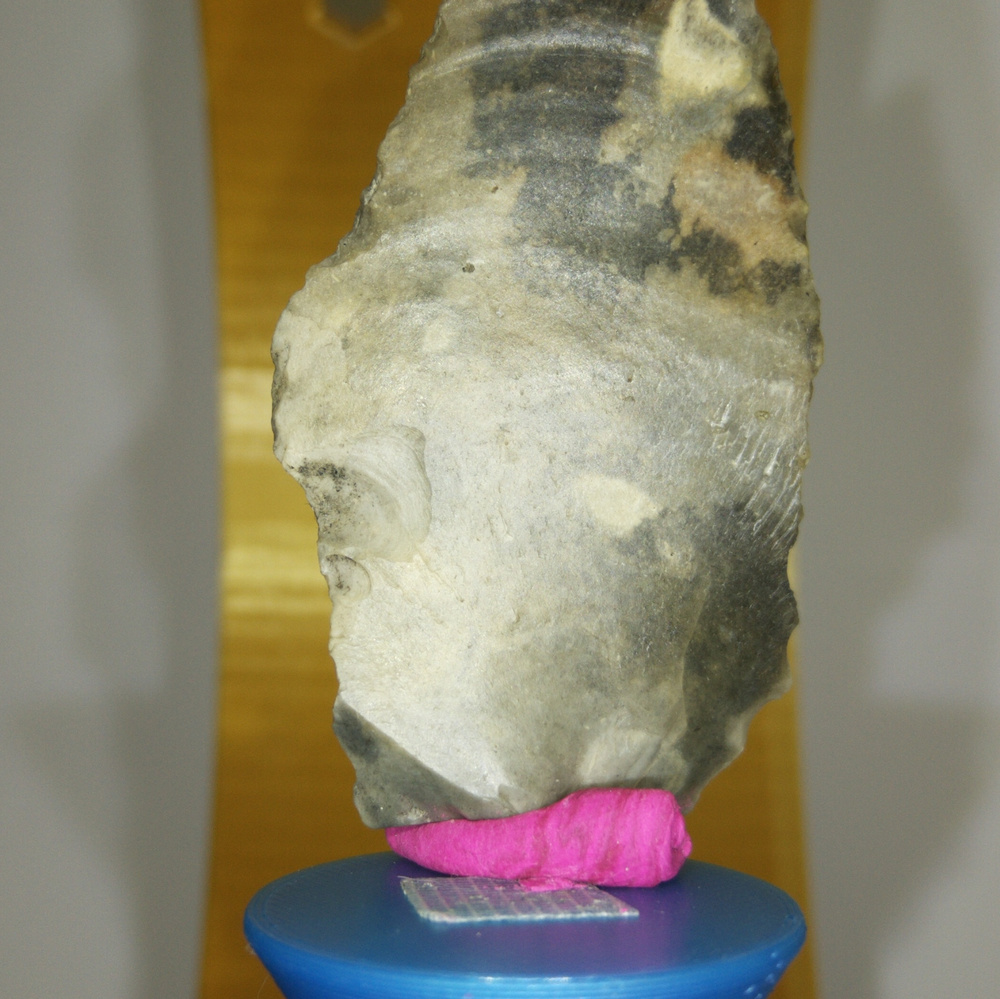
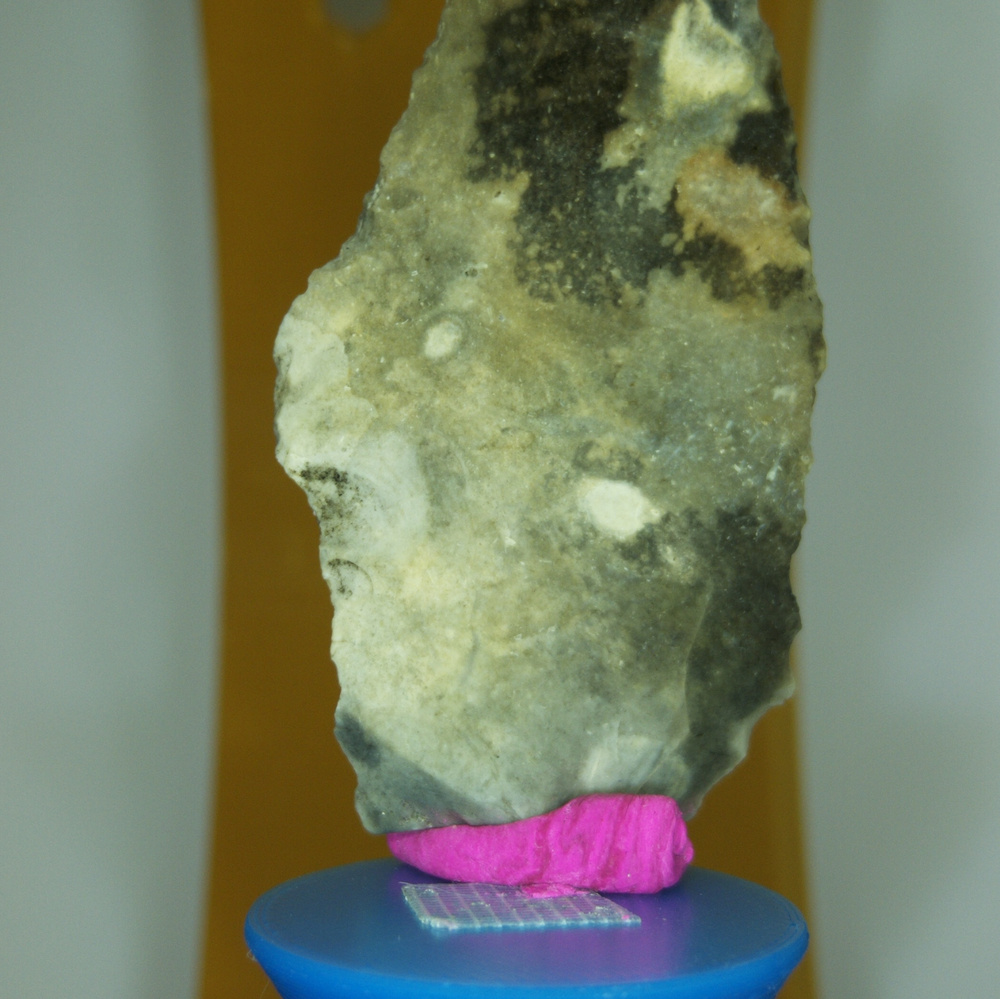
Stone flintstone tool
 |
 |
|---|---|
| bad | good |
| without polarizer | with polarizer |
| A lot of specular highlights | The feature on this surface are not very distinct and a little bit washed-out. Scanning spray could definitely help a lot |
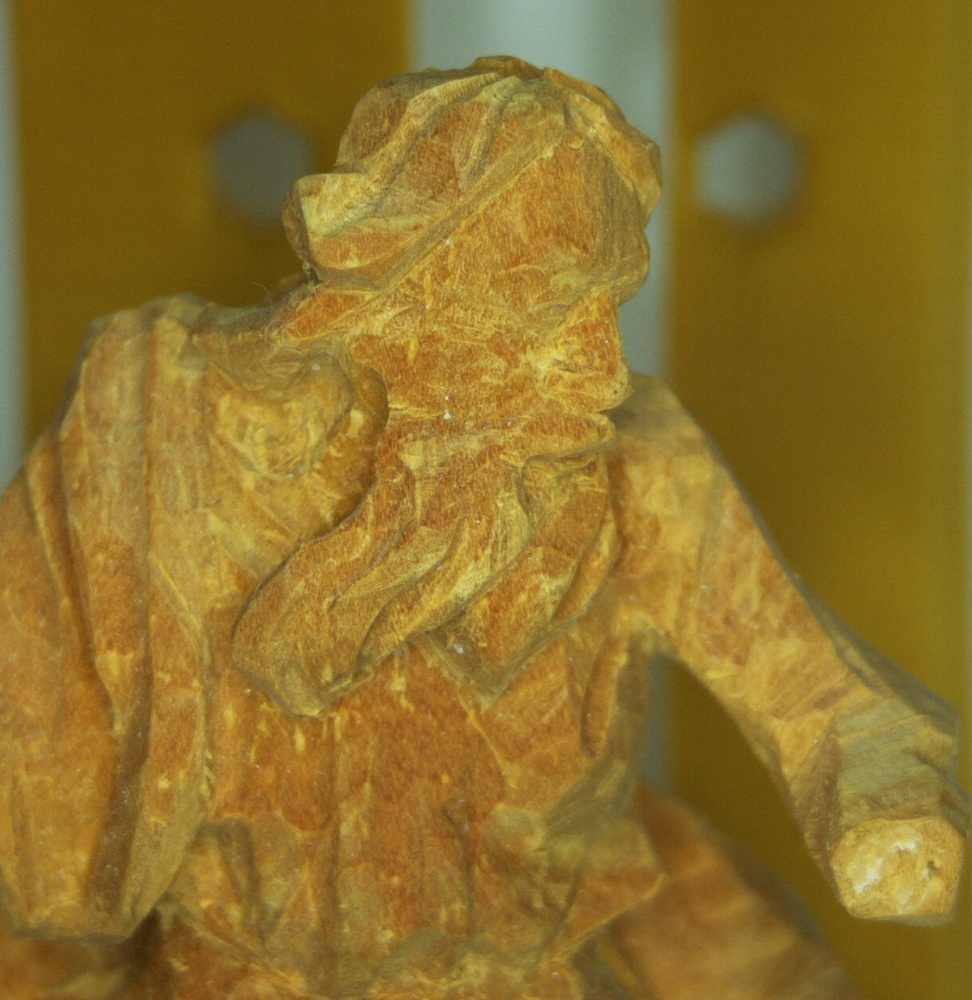
Wood
This is basically as good as it could be, lots of features and almost no specular highlights. Note, that not all types of wood show that amount of surface features/graininess.
 |
 |
|---|---|
| perfect | perfect |
| without polarizer | with polarizer |